Author: Jaymie Birney

Using the Union Tool in Visio

Drawing structures on maps may seem daunting but the Union tool makes it very easy.  You are able to draw structures using a series of overlapping shapes and use the Union tool to merge the shapes together leaving just the perimeter outline.

Note: No matter what angle your structure will appear on your final map, it is much easier to draw it square and then simply rotate it to the actual angle.  Similarly, it is much easier to draw the structure larger than necessary and then resize it to fit your final map.

Complete the following steps to draw your structure:
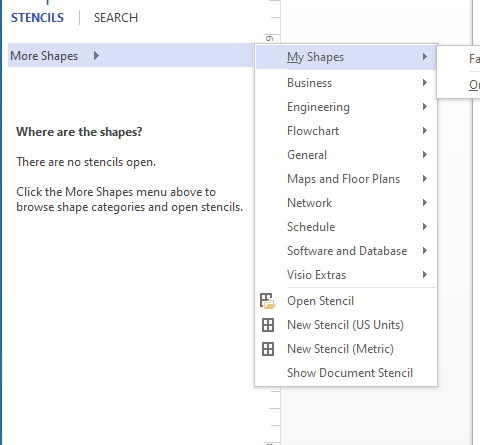
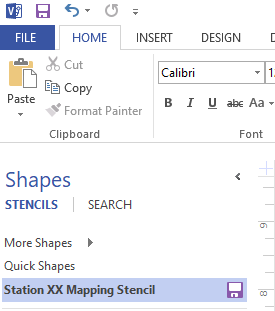
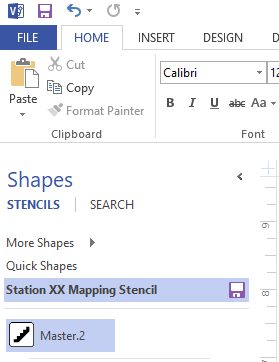
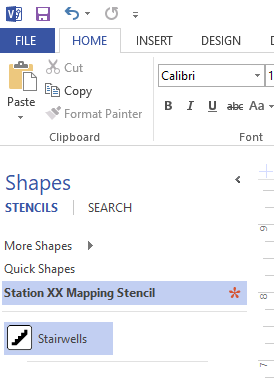
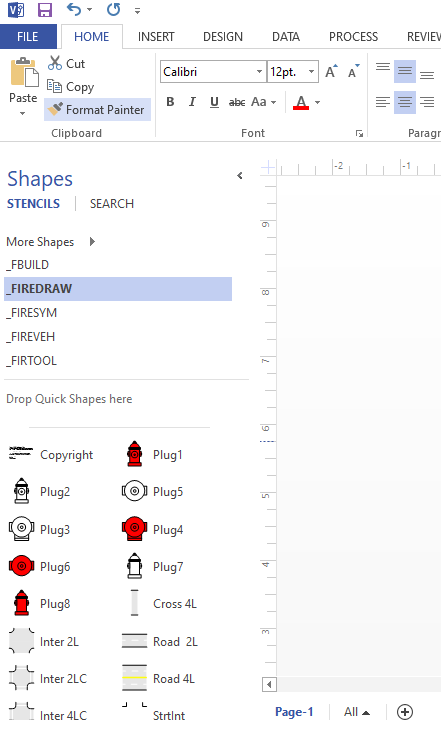
  • Click on Shapes.
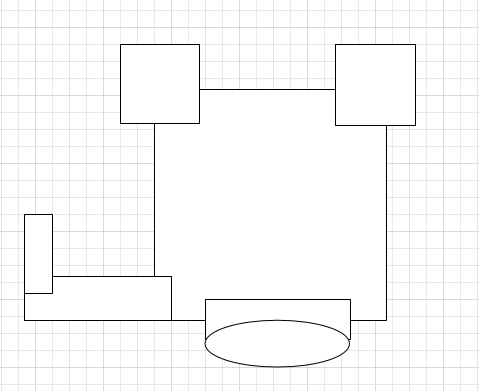
  • Use the shapes tools to draw a series of overlapping shapes to create the perimeter of the building.  In this example, it is a donut style apartment building with bump outs on Side Charlie and an overhanging portico on Side Alpha.  There is also a loading dock walled off on Side Bravo.


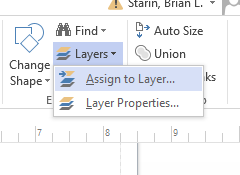
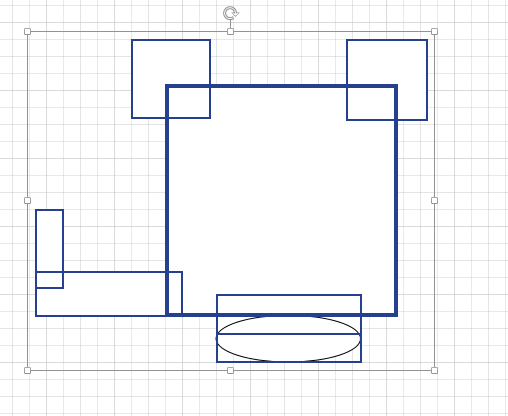
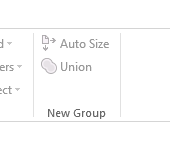
  • Highlight all the shapes and click on Union.


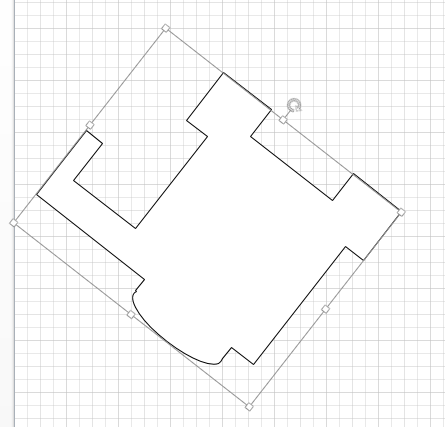
All of the highlighted shapes have merged and you now have the perimeter outline of your building.

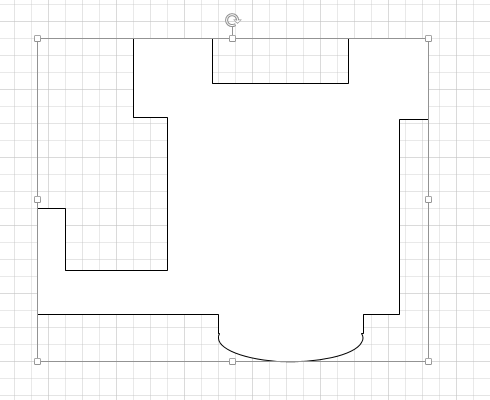
You are able to adjust the angle or size of the building by completing the following these steps:

  • Use the rotate symbol at the top of the drawing to change the angle of the building.
  • Use the section handles (the small circles in the corners, sides, or top/bottom) to resize the building.


Assigning Items to Layers in Visio

Layers are one of the best tools in Visio as they make editing so much easier.  If you add all of your items to different layers you can turn them on and off.  For example, if all your streets are on a layer named “streets” you can turn that layer off in order to print off blank street maps to conduct street drills.  If you have all your structures from a map page on the same layer you can turn off  the other layers except the structures layer in order to edit them all at once, such as increasing the weight of the lines of the buildings to make them stand out more.

Anything copied from GIS maps will come with its own layer assigned.  If you create anything of your own you will need to either add it to an existing layer or create a new layer to assign it . To do so, follow these steps.

  • Click the item you wish to add to a layer (a hydrant for example) Click, on Layers then click on Assign to Layer in the dropdown menu.

  • Check the box next to the layer if it already exists.

Each first due has features unique to that area.  There may be times the layer you want does not exist.  If you need to create a layer, complete the following step:

  • Click on New. A new window will pop up prompting you to provide a name for the layer. The item is now assigned to that layer.

Note: If you are doing hydrants for example, there will be several on a page.  You can either assign the first one to a layer and then copy and paste it over and over to get the number of hydrants you need or assign it to a layer and then add it to your station stencil (see tech tip on creating stencils) drag and drop from the stencil.

Creating New Stencils in Visio

Each first due has features unique to that area.  Visio allows you to create a stencil that is uniform and specific to your station. These new stencils can be accessed in One Drive by anyone in your station that works on maps.  For example, you can add hydrants (already on a layer) to the stencil, you can add any new symbols you have created (such as Knox Boxes or FACP’s), you can even use for street names (to make size and font uniform) or for map page identifiers.

Note: If you add items to a layer (see Tech Tip on layers) before adding it to the stencil, then it will automatically be on that layer every time you drag and drop from stencil in the future.

To create your own stencil, follow these steps.

  • Click More Shapes in the stencil menu and then select New Stencil (US Units).  This will create a new stencil that has a number after it.

  •  Right click on this stencil and select Save As.  Type a name for the stencil.Note: Save the new stencil to One Drive or the backup location where your station is saving their maps.  If you save it locally, the new stencil can only be accessed under your profile.


You will notice that there is a small asterisk symbol next to your stencil name.  Anytime you add something to the stencil, this will change to a floppy disk symbol as a reminder that your stencil must be saved.

  • Click on the floppy disk symbol regularly to save changes to your stencil.


  • Drag items from your map into your stencil and rename as needed.


Opening Stencils in Visio

MCFRS has several stencils that can be utilized when creating maps and for training purposes.  These stencils contain common items such as hydrants for creating preplans, hoseloads and apparatus for creating driver training equations, structure mockups for creating scenarios for training and many more.  To access these use the following steps.

  • Find and click the Stencil Menu

  • Find and click More Shapes, once the stencil menu has expanded.
  • Select Open Stencil


  • Click This PC and select the T: Drive.  The T: Drive contains Montgomery County Maps and Preplans.
  • Click on the “Visio” folder and select the 5 stencils that are listed.  These five stencils are now available to use in your stencil menu.


  • Click on a stencil and drag into your maps to use.