Layers are one of the best tools in Visio as they make editing so much easier. If you add all of your items to different layers you can turn them on and off. For example, if all your streets are on a layer named “streets” you can turn that layer off in order to print off blank street maps to conduct street drills. If you have all your structures from a map page on the same layer you can turn off the other layers except the structures layer in order to edit them all at once, such as increasing the weight of the lines of the buildings to make them stand out more.
Anything copied from GIS maps will come with its own layer assigned. If you create anything of your own you will need to either add it to an existing layer or create a new layer to assign it . To do so, follow these steps.
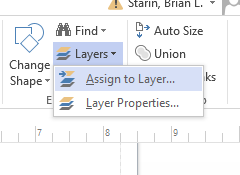
- Click the item you wish to add to a layer (a hydrant for example) Click, on Layers then click on Assign to Layer in the dropdown menu.
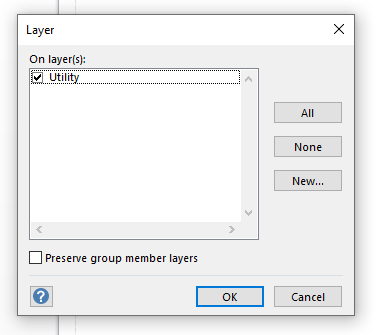
- Check the box next to the layer if it already exists.
Each first due has features unique to that area. There may be times the layer you want does not exist. If you need to create a layer, complete the following step:
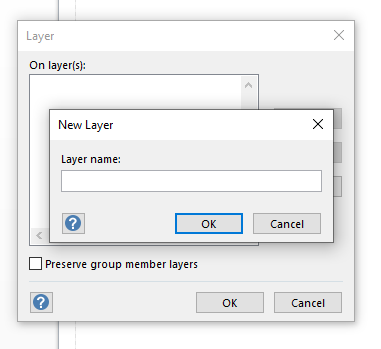
- Click on New. A new window will pop up prompting you to provide a name for the layer. The item is now assigned to that layer.
Note: If you are doing hydrants for example, there will be several on a page. You can either assign the first one to a layer and then copy and paste it over and over to get the number of hydrants you need or assign it to a layer and then add it to your station stencil (see tech tip on creating stencils) drag and drop from the stencil.