Confused as to what your username and password should be?
Username: [Your Windows username] @montgomerycountymd.gov
PW: [Your Windows PW]
(Obviously, don’t type the brackets when you log in.)
Confused as to what your username and password should be?
Username: [Your Windows username] @montgomerycountymd.gov
PW: [Your Windows PW]
(Obviously, don’t type the brackets when you log in.)
Need to have a phone call with one of your contacts? Teams enables you to use your computer for voice-over-IP (VOIP) phone calls and a real advantage tot his approach is the ability to hare your desktop and show the other person your document while you work on it. The speakers and microphone on your computer must be enabled for this to work (and the same goes for the other contact’s computer).
Switch to the Calls section of Teams
Find and click the Make a call button in the lower-left corner of the screen.
Note the field that emerges, the Type a name field.
Type in the name of the individual you would like to call and press the Tab key, once the name is selected.
Add more people to the call as needed.
Note the row of buttons that appears when you click on the name.
Click the icon resembling a phone.
Note: While Teams is making the call, most of the screen will be filled with the contact’s avatar or initials. Also, a floating navigation bar for the call will appear near the bottom of the screen:
Need to have a phone call with one of your contacts? Teams enables you to use your computer for voice-over-IP (VOIP) phone calls and a real advantage tot his approach is the ability to hare your desktop and show the other person your document while you work on it. The speakers and microphone on your computer must be enabled for this to work (and the same goes for the other contact’s computer).
Switch to the Chat section of Teams
Locate the person i your contacts list you would like to call.
Find and click the phone icon in the upper-right corner of the screen. Teams will call the individual.
Note: While Teams is making the call, most of the screen will be filled with the contact’s avatar or initials. Also, a floating navigation bar for the call will appear near the bottom of the screen:
Teams offers a text chat/instant messaging feature and the process is simple:
Switch to the Chat section in the left-side navigation.
Click once on the contact of your choice to select the correct person. Note the colored circle at the bottom-right of the person’s avatar (or initials), located to the left of his/her name.
Find and click in the chat text box at the bottom of the screen.
Type your message and press the Enter key on your keyboard. Wait for a reply and type in this same box. The text thread will appear in the main window.
New to Teams? In adding contacts of people, you may want to consider grouping them. For example, maybe you want to lump all of the people in your section together, while you have another for a different section entirely.
Click the Chat icon in the left-side navigation.

Find and click the Create a new contact group button at the bottom of the screen, on the left side of the window.
![]()
Type in the name of the group (e.g., FRS HR) and click the Create button.
Find and click the group header you just created. Now, it’s time to find and add people to the group.
Click the ellipsis (three dots) to the right of the group name.
Choose Add a contact to this group.
Input the name of your colleague and click the Add button.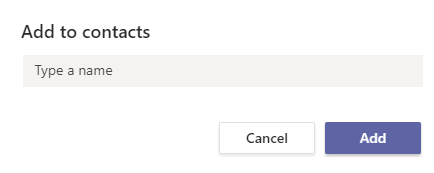
Repeat the last few steps to add more people.
Have you been granted VPN rights, but now you don’t know the first thing to do? Here is your next course of action.
(Note: This presumes you’ll be connecting to your office/cub desktop PC in your office/cube and you don’t have your county notebook or PC at home with you.)
Office PC: Find out the hostname of your MCG PC. You’ll need this if you’re going to connect to it.
Personal Notebook or Desktop PC: Set up Pulse Secure
County Notebook: Set up Pulse Secure

Connect to the VPN


Connect to Your Work Desktop
Is something wrong on your timecard, as an employee? Are you an officer or manager and one of your employees needs a change to his/her timecard from three weeks ago? There is a specific process to follow and you have come to the right place for the details. The actual paperwork has to be completed by the manager. For uniform personnel at the rank of captain and below, the battalion chief will also need to sign off on the paperwork before it goes to FRS HR.
First things first: FRS HR has an important message for you to read, located here as well as via Quicklinks (HR Division menu, HR & Labor Relations list, MCtime Timecard Correction Request Info link).
Step 1: Go to the MCtime Timecard Correction Request form, located in Quicklinks (same menu item as above but second link on the same bullet) or in MCtime (MCtime home page after you log in, go to the My Links section and the subsequent MCtime Info forms).
Step 2: Fill out the form on-screen as follows:
Scenario 1: Your employee took 24 hours of ANL three weeks ago and (oops) meant for the time to be comp leave.
Scenario 2: Your employee work 24 hours of overtime but neglected to add it to the timecard.
Scenario 3: Your employee was paid for the holiday (HDP) but prefers comp leave (CLH).

One final note: Multiple correction requests you input on a form must fall within the same pay period and for the same employee. If you need to request changes that span across more than one pay period, use additional forms.
Are you downgrading a call from ALS to BLS? While there has been a procedure in place for your documentation, the EMIHS group has added a new page (called Worksheet in Elite) for you to fill out, as well. Here are the basics:
Find and click the (new) black and gray Worksheets button, now located a few buttons below the Times button on the right side of the screen (above the Power Tools). This will toggle the Power Tools with the (new) Worksheets buttons.
Find and click the green Downgrade button, located on the right side of the screen where the Power Tools were a moment ago.
Note that a new screen has appeared. There is a menu on the left side with six headings. Clicking any of the headings takes you down the page to that particular section.
Answer the questions.
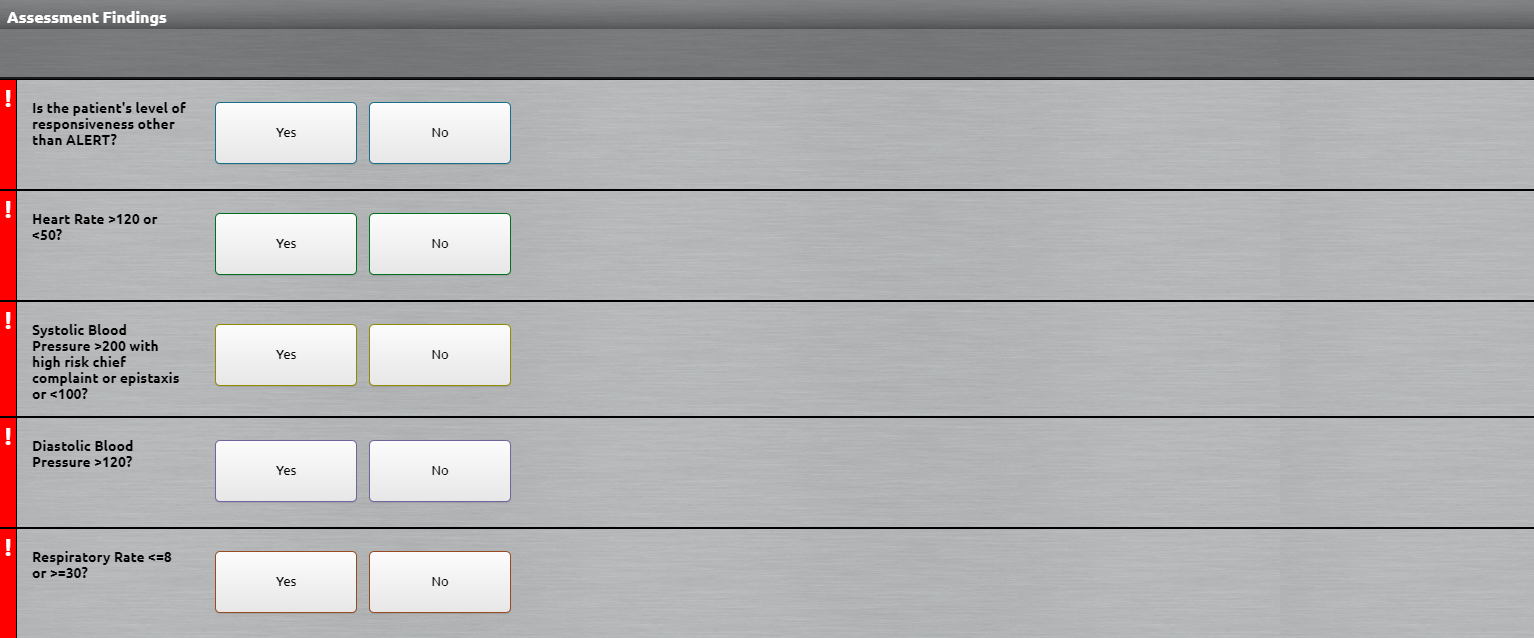
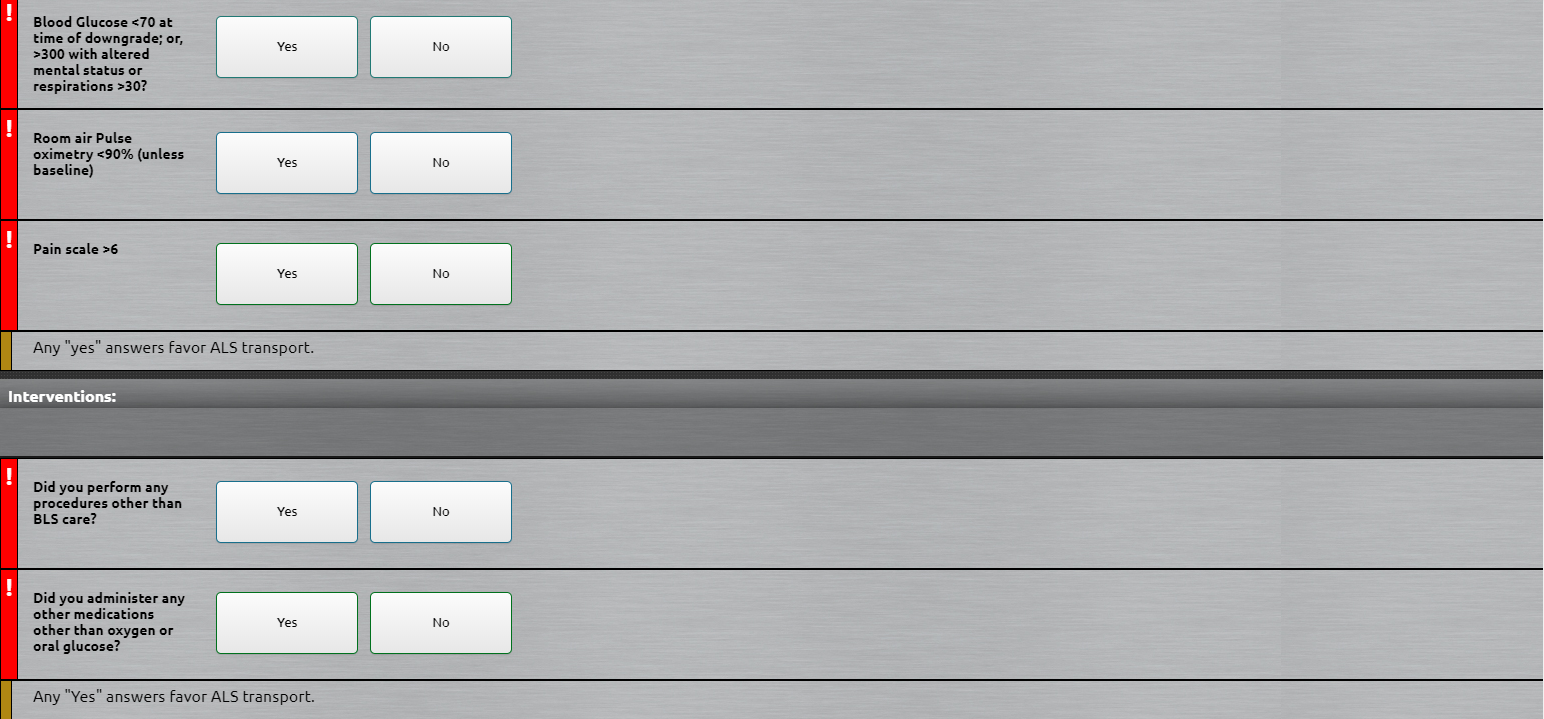
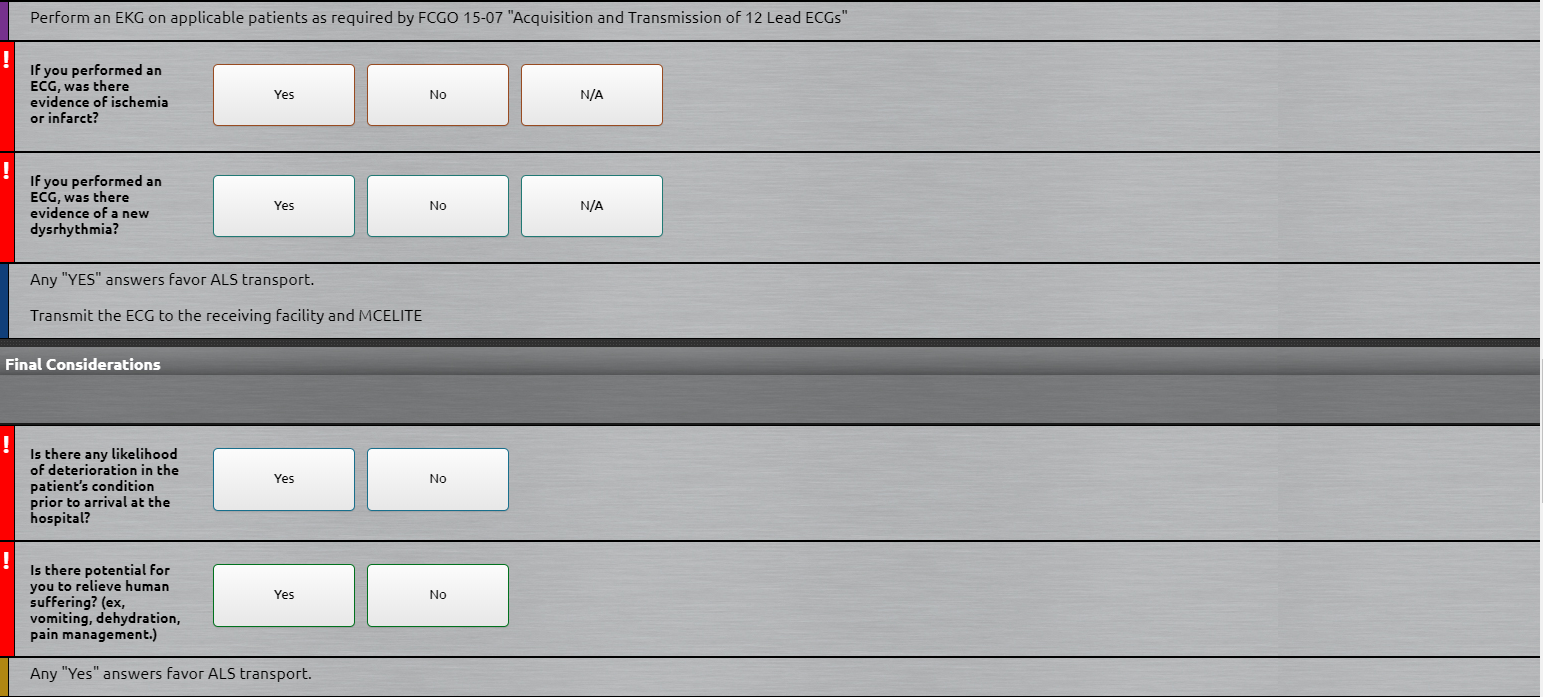 Sign the bottom (both the ALS provider and BLS provider must sign).
Are you at a loss with the Billing tab in Elite when you’re working on a patient report? Here is a TechTip that might help.
Specifically, let’s talk about the CMS Service Level field.
When you see this field, ask yourself: What is the level of service provided to the patient during transport? (Because of how we assemble resources, it is not always obvious if a patient was transported ALS or BLS. We need to identify if the paramedic upgraded a call or if it was downgraded to BLS.)
Note: The choices in this field are driven at the national level but not all of the choices apply to how we do business. We have adapted what you enter to get the information we need locally, which is why you can choose any ALS, any BLS and disregard the rest.
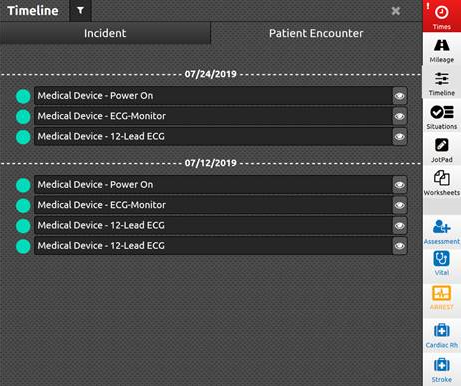
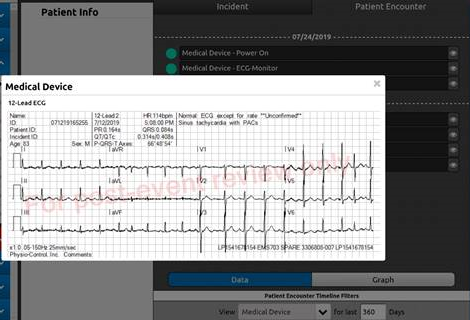
ImageTrend (ELITE) recently added the functionality to view a patient’s previous 12-lead EKGs and other vitals. Here are the steps you need to take:
Questions about how to use this function may be directed to Captain Tim Burns or FF Benjamin Brighton.