In 2023, the 800 MHz Radio Model APX8000XE will replace the APX6000XE and APX7000XE portable radios. Below are some frequently asked questions (FAQ) and information you need to know.
What is new about the 8000 portable radio?
- All users — regardless of riding position — will now have access to VHF resources (e.g., 7V1, 7V2, etc.) and UHF backup med channels. As such, there will be no difference between the officer and firefighter radios.
- New UHF zones: EMRC, MA41 and MA42
- DC fire zones are updated. While that doesn’t match the rest of the fleet, differences do not affect fireground talkgroups.
- You will receive a new remote speaker microphone. While it looks a lot like the previous model, the new version has better audio capability and does a better job of suppressing extraneous background noise.
Is there a new fleetmap?
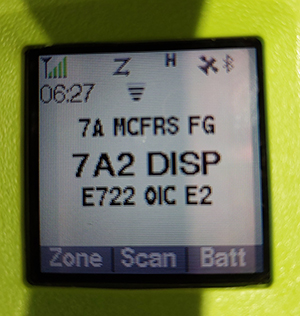
How will I know which radio I have?
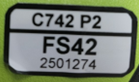
- Model 6000 and 7000 radios each have a white sticker with black printing to identify the radio.
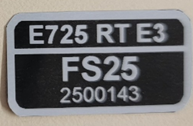
- Model 8000 radios each have a black sticker with white printing to identify the radio.
What about the batteries — are they different?
- Model 6000 and 7000 batteries are each black with a green dot on the bottom, and a white label with green printing.
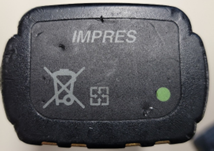
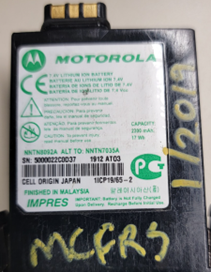
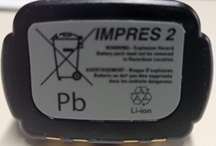
- Model 8000 batteries are each white on the bottom and a black/white label.
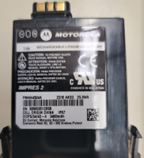
- The model 8000 battery’s capacity is greater than the old battery’s capacity.
- The model 8000 battery is intrinsically safe, rated through UL (Underwriter Laboratories).
- The old batteries with the green dots are not compatible with the new radios and will need to be returned to TechOps once your station’s radios have been replaced.
- Note: If you use the wrong battery in the model 8000 radio, you will get a message that you are using the wrong battery.
Are the Station Battery Multi-Unit Chargers (MUCs) different?
- Model 6000 and 7000 chargers looked like this:
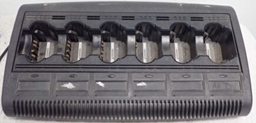
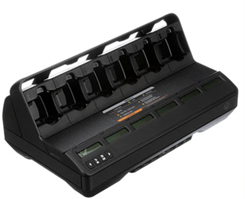
- Model 8000 chargers look like this:
- If you come across an older style charger, please submit a TSR for radio equipment with the location of the old charger and a good point of contact to assist us in swapping it out.
What’s the plan for deployment?
- We will swap out whole battalions at a time.
- This is a one-for-one swap as the old and new radio IDs for the riding positions must match.
- As we swap out radios by battalion, the loaners in the BC vehicles will be changed. If you get loaners from BCs other than your home battalion BC, they may have different radios/batteries than yours. Please get a loaner from your home battalion.
- Volunteers will be asked to have their portable radios at their respective stations when those stations are scheduled for radio swap. People failing to switch out radios in a reasonable timeframe will have their radios turned off. Please do your part and, if you are unable to meet the exact timeframes, please communicate with Tech Ops.
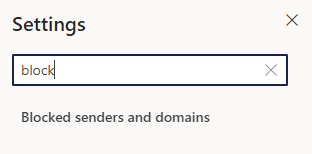
How do I find out more information?
- If you have specific questions, please submit a TSR and someone from Tech Ops will follow up with you.