Scenario: You are MFF or LT who has been working out of class (for at least 280 hours in the last six months, plus 10 days) and would like to submit a report for approval.
- Log into FireApp and click the WOC button, located near the bottom of the left-side navigation.
- Click the Create Report button after you have created your WOC entries. (If you have not yet logged those entries, please click here for directions.)

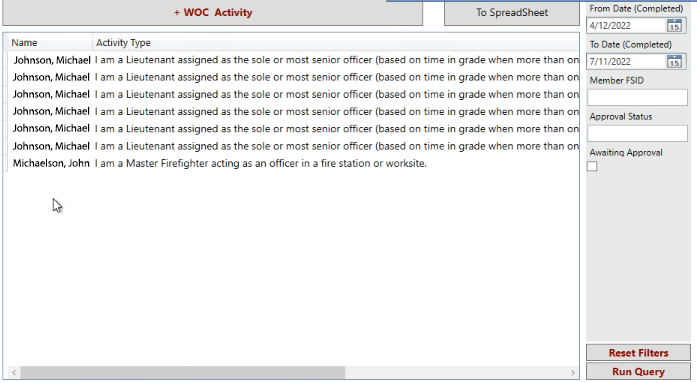
- Check the boxes of the items you wish to include in your submission for approval.
Notes:- Anything grayed out has already been submitted. If an item was denied in error, you will need to resubmit that entry.
- All selectable items (i.e., non-gray) will appear at the top of the list.
- Select the appropriate battalion chief from the drop-down list and click the Send to BC button.
Note: You will not be able to send the report until you select a BC. When the items you have selected turn gray, you will know that the report has been sent. From there, you will also get an e-mail confirmation message. - Log off of FireApp when you are finished.