CF-20

Charging the CF-20 Toughbook

As you may have noticed, there are two charger ports for the CF-20 — one on the tablet and one on the base/keyboard.

  • If you plug in the charger on the tablet port, only the tablet receives the charge. (You will see a charge light for the tablet and a red light for the keyboard.)
  • If you plug in the charger on the base/keyboard, both receive the charge. (You will see a charge light for the tablet and another yellow charge light for the keyboard.)

Using the CF-20 Camera for eMEDS Reports

Personnel may no longer use their own cameras for EMS incidents, now that the department is providing cameras on the CF-20 Toughbooks. The overall process is two-fold:

  1. Take the picture (saved in the Windows My Pictures folder).
  2. Attach to the eMEDS patient report (optional, as you may also just show hospital personnel the picture from the Windows folder instead)

Note: You may only use the CF-20’s camera for an incident if it is specifically for patient care (i.e., to show hospital personnel items such as auto accidents, medication lists, etc). Additionally, please note that you are not permitted to take video — only photos. One final point: Each picture will be wiped from the folder automatically, 24 hours after it is saved to the Windows folder.

To take a picture with the Toughbook:

  • Click the Menu button, located at the bottom of the screen (next to the Validate button).
  • Click the Attachments button.
  • Click the Add New button.
  • Expand the Document Type drop-down list and select Other Picture/Graphic.
  • Click either the Take Picture button (to take the photo then and there) or the Browse button to navigate to a saved photo. (For the former, tap the screen to take the picture. For the latter, select the saved photo and tap the Open button).
  • Click the two successive OK buttons.

Reattaching the CF-20 Tablet to the Keyboard

You have been working with the CF-20 as a tablet and want to reattach it to the keyboard.

With the computer unfolded as though it were attached and the screen was separated at about a 90 degree angle from the screen:

  • Ensure you are facing the keyboard and that the screen is level with the tablet screen facing you, parallel to you.
  • Align the screen above its dock.
    • The bottom of the tablet is this:
      CF-20 Tablet Screen
    • The docking mechanism on the keyboard/bottom half of the computer is this:CF-20 Computer Bottom Half
  • Press down evenly and simultaneously on both sides until you hear each side click into place.


Separating the CF-20 Tablet from the Keyboard

If you find the Toughbook CF-20 bulky for use while writing your eMEDS patient report, you may want to consider separating the tablet from the keyboard and just carrying the tablet with you.

Note two things first:

CF-20 Lock and Release Switches


  1. The lock/unlock switch: Make sure that you flip the switch up to unlock the device before you attempt to separate the tablet from the keyboard. In the image above, the switch is in the locked position.
  2. Release switch: Slide the Release Switch to the right (as far as it will go) and it will stop in place. If it jumps back to the left, you have not fully released the tablet.

After you have addressed both of these, the screen/tablet lifts straight upward and away from the rest of the device. (Remember not to leave the keyboard in the hospital, the patient’s home/incident location or elsewhere that is not under MCFRS control.)

Docking the CF-20 Stylus Pen

You have just been handed the CF-20 for your eMEDS reports and you’ve been told that you must use attached stylus pen instead of your own pen.

(By the way: You must use the built-in stylus pen and not your own pen.)

Knowing we are limited in pens (by the way, we are limited in stylus pens, so please do not break your pen), you want to know the correct way to dock and undock your pen.

Undocking the Stylus Pen:

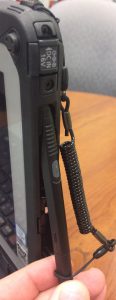
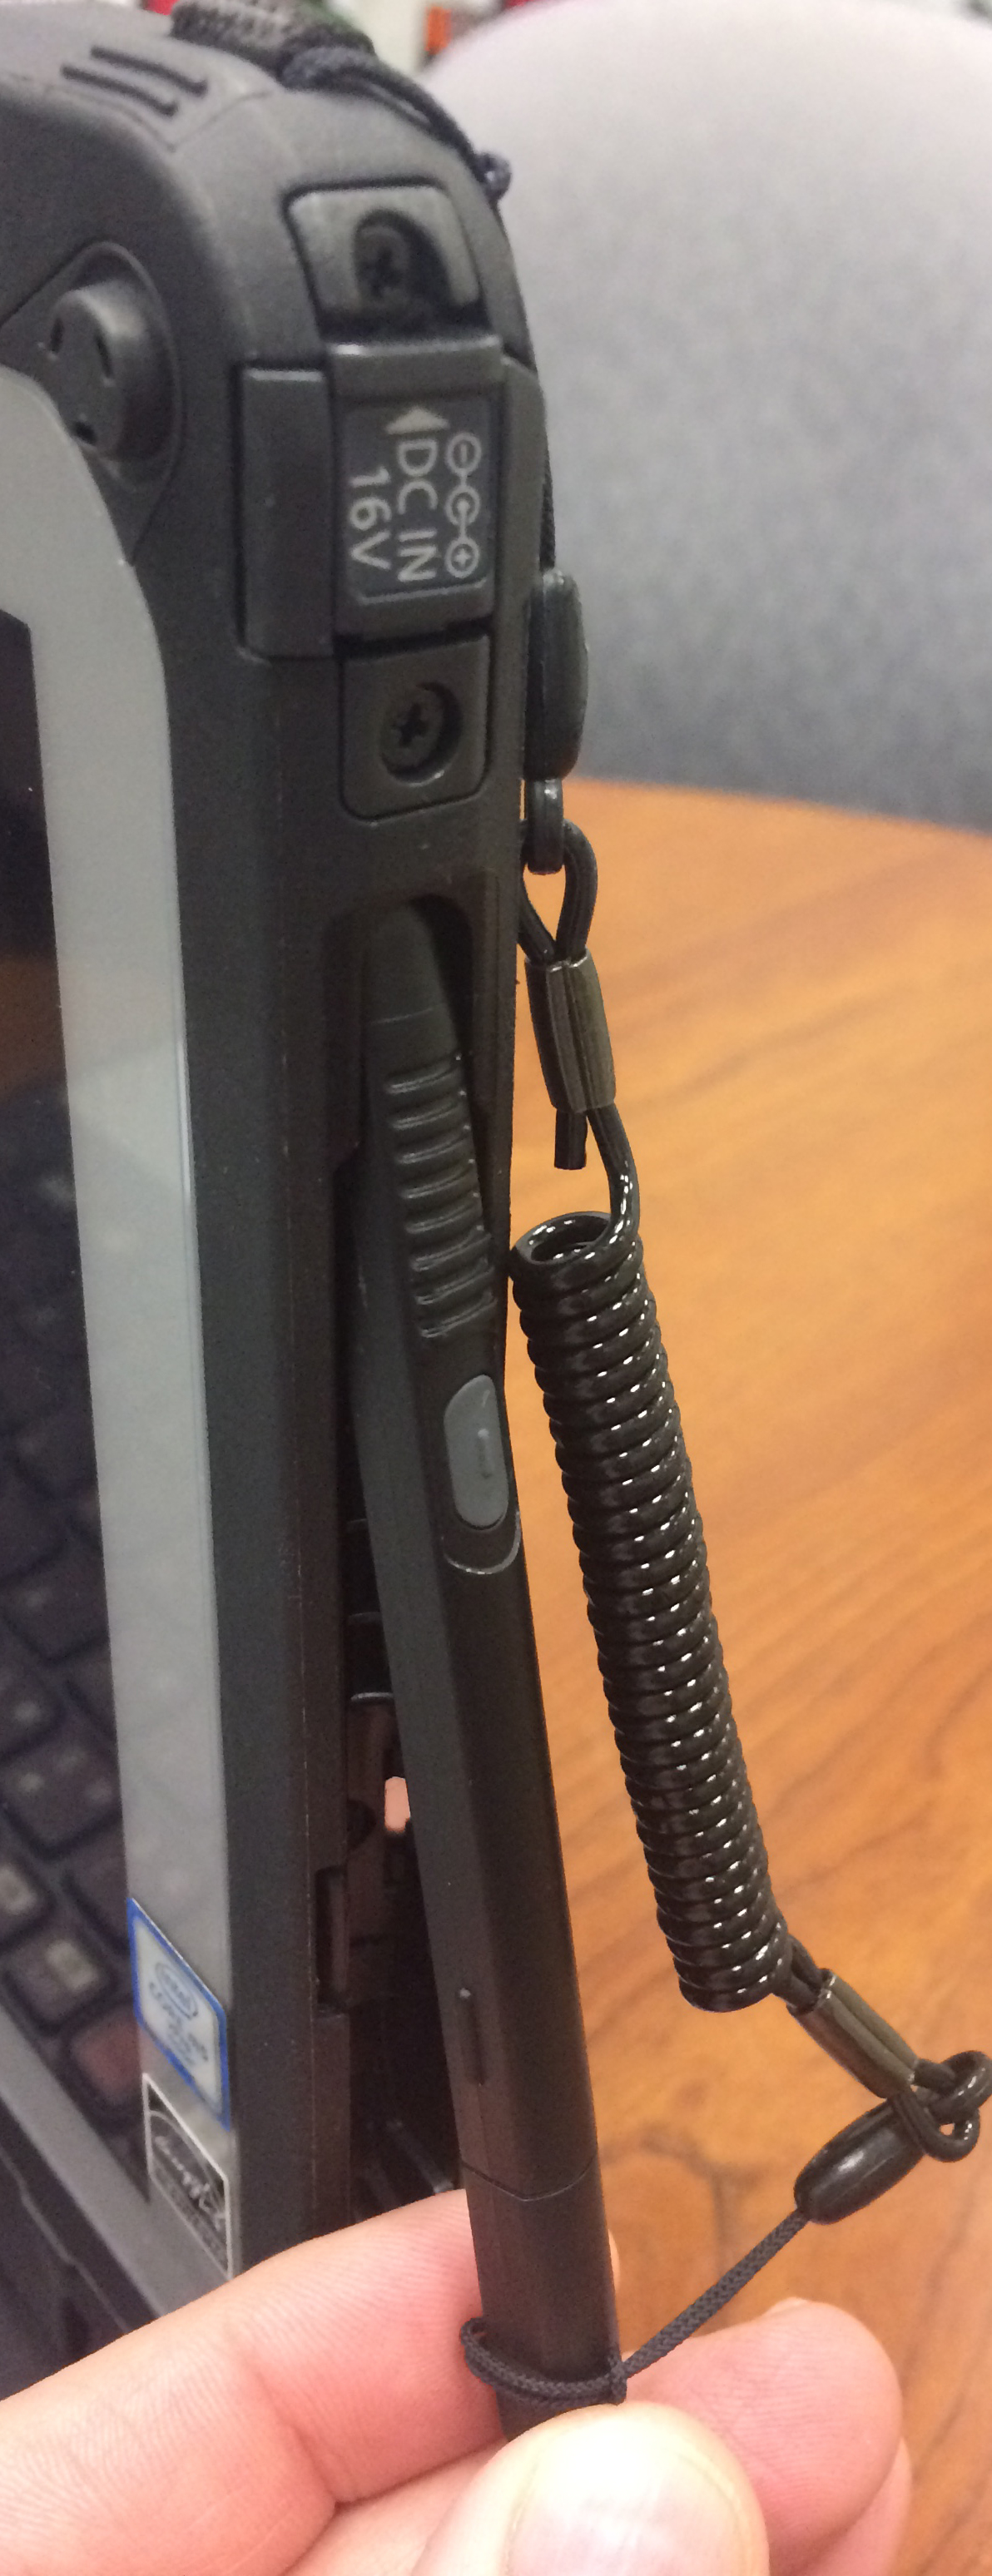
The pen snaps out. Just pull the pen out by the attached cord. The pen and cord are located on the right side of the machine.

Docking the Stylus Pen:

  • Point the pen with the tip up, parallel to the top of the tablet (so that the Word Toughbook is above and to the right of the screen).
  • Insert the tip into the groove so that the pen angles toward the tablet’s reserved pen space while keeping the bottom of the pen farther out from the tablet.
  • Move the tip up as far as it will go without forcing it.
  • Snap the bottom of the pen into place.

Note: If the above steps go smoothly, you have docked the pen successfully. If you feel like you need to force the pen at any time, you are not docking the pen correctly. here is the pen, before docking and after docking:

CF20 Pen about to be docked

CF20 Pen Docked