Have you joined (or been forcibly assigned to) an Outlook Group? By default, you may automatically be receiving any and all e-mail sent to the group address. However, you have some options and may limit how much of the mail you receive. Even if you choose not to receive any, it will always be available in the group inbox for you to see when you so choose.
Outlook Desktop Directions:
- Open Outlook Desktop.
- Scroll to the bottom of the inbox folder list and click once on the Outlook Group for which you need to change the mail options.
- Note the change to the ribbon at the top of the screen. One of the items should be Group Settings.
- Click on the Group Settings button and note your options under the heading Follow in Inbox:
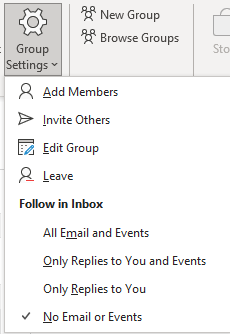
- Choose No Email or Events if you do not want to receive any of the e-mail in your own inbox. Choose a different options as you see fit.
Outlook Web Directions:
- Open Outlook Web.
- Scroll to the bottom of the inbox folder list and click once on the Outlook Group for which you need to change the mail options.
- Note the screen is now in three columns. In the middle column, you should see the name of the group. In the example below, the group name is _FRS_Defect_Pictures.
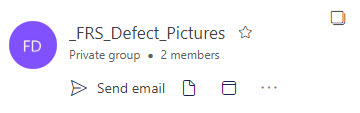
- Click the ellipsis (…) found on the same row as Send email and choose Settings from the pop-up list.
- Note the new panel that has appeared on the right side of the screen.
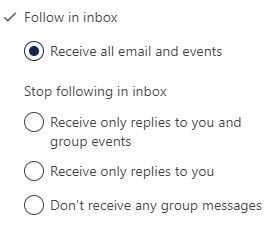
- Choose No Email or Events if you do not want to receive any of the e-mail in your own inbox. Choose a different options as you see fit.
- Click the X at the top of the Group Settings panel to close it (or just click elsewhere on the screen to close the panel).