Did TEBS recently remove some software from your county PC, such as a browser? Software such as Chrome and Firefox must be loaded from a specific county location, instead of just a standard web download, so that it meets county specifications.
Ensure you are on the county network. If you are someone who teleworks, make sure you have logged into the network via VPN. If you are using a laptop in a county worksite, ensure that you are connected behind the firewall (as opposed to MCGuest).
Locate MCG Software Center on your desktop. If it is not a shortcut on your desktop, click the Windows start key on your keyboard and then type software. You will see search results for the Software Center app. Run it.
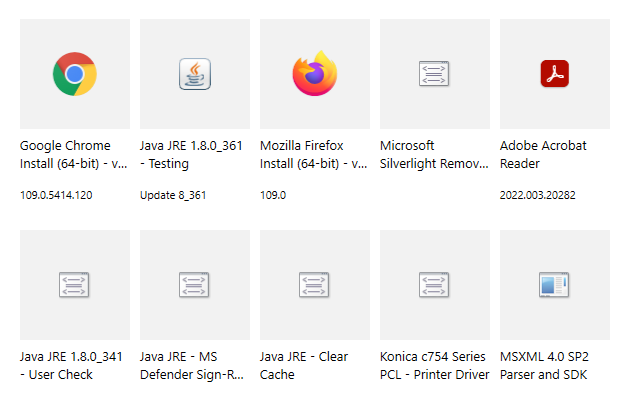
Note the list of apps in Software Center. Here is an example:
Find and click the app you would like to install.
Click the Install button. you will know that the installation has finished when the black button is labeled Reinstall.
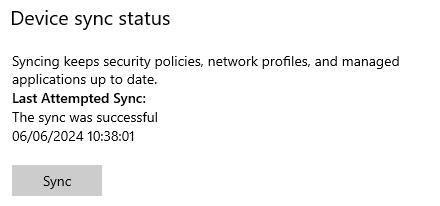
Are you trying to find something in the Windows Software Center, which you know should be there but is not? Here are directions to update Software Center to show the most current list of available apps.
Close Software Center, if you have it open.
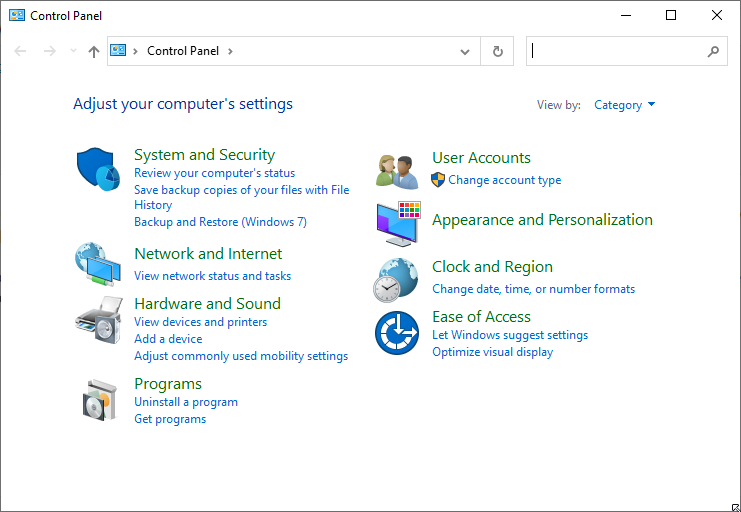
Click the Windows start button (at the bottom-left of your taskbar) and type Control, but do not press the Enter key.
Find Control Panel in the resulting list and click it, in order to open it.
Wait for the Control Panel window to open, and then find the search box at the top-right corner of the window. Click in the search box.
Type Config and you’ll see Configuration Manager appear as an option. Click the Configuration manager link
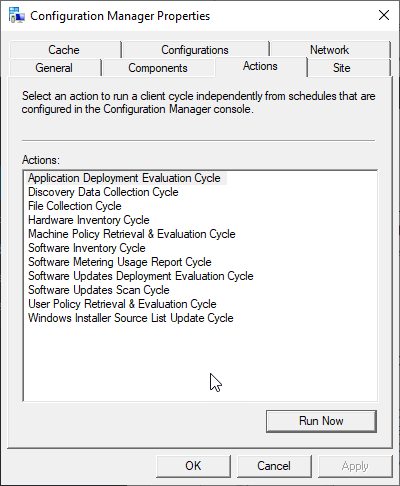
Wait for the Configuration Manager Dialog box to appear and then switch to the Actions tab.
Find and click Application Deployment Evaluation Cycle in the list and then click the Run Now button, located at the bottom-right of the dialog box. Wait for that process to finish.
Find and click Machine Policy Retrieval & Evaluation Cycle in the list and then click the Run Now button.
Click the OK button and then close the Control Panel.
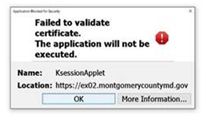
Are you an officer on a county computer and seeing a failed to validate certificate error message like the one below?
Try this fix:
Close your web browser (Internet Explorer or Edge).
Find the Windows flag at the bottom-left corner of the screen.
Type Java and press the Enter key on your keyboard.
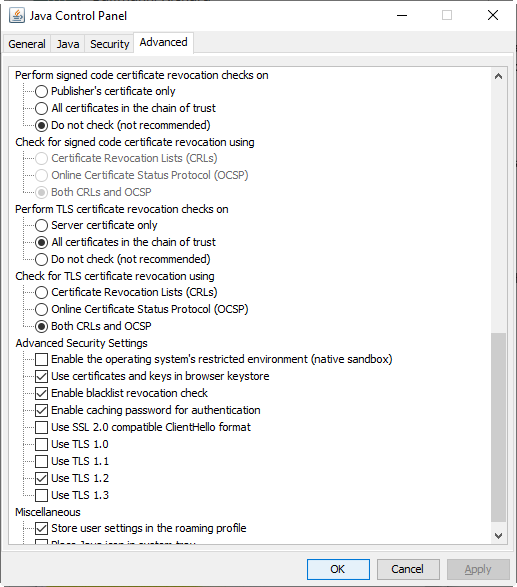
Click Configure Java from the search results and the Java Control Panel options box will appear.
Change to the Advanced tab at the top of the window.
Scroll down until you see Perform signed code certificate revocation checks on in the list. It is halfway down the list, perhaps more.
Click to select Do not check (not recommended) and click the OK button at the bottom of the screen.
Open a folder on your Windows desktop (File Explorer or other folder) and click the View tab.
Ensure that the HiddenItems checkbox is checked. If it is not, check it.
Navigate to the following location: C:\Users\[your username]\AppData\LocalLow\Sun\Java\Deployment
Find the file called deployment.properties.
Right-click it and choose Open (or Open With, if that is the option) from the list. You will likely be prompted as to which program should open the file. Choose Notepad and click the OK button. (If you do not see Notepad listed, click the MoreApps link to find Notepad.)
Find the line that reads deployment.security.mixcode=HIDE_RUN and place your cursor after the word RUN.
Press the Enter key to create a blank line.
type the following into the blank line: deployment.security.revocation.check=NO_CHECK
Do not make any other changes to the file!
Access the File menu and choose Save.
Close the deployment.properties file.
Start your browser and try to access MCtime.
If you are still stuck at that point, please fill out a Technology Service Request and FRS Technology will help you as quickly as we can.
With Windows 10, Microsoft has added new keyboard shortcuts to give you easier access to the new Action Center, Cortana, Task View, and virtual desktops.
Listed below are a few of the most common Windows 10 keyboard shortcuts:
Press Windows key: Open/close the Start menu
Press Windows key + A: Open the Action Center
Press Windows key + C: Launch Cortana in listening mode (for voice commands)
Press Windows key + E (Windows 7 and up): Launch File Explorer
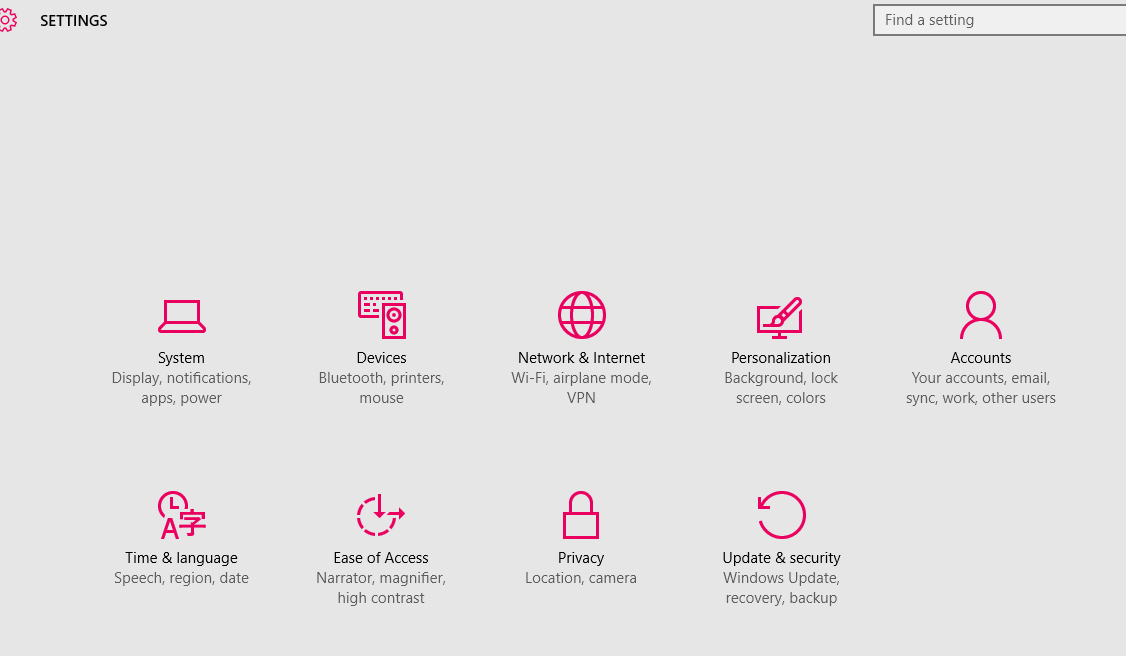
Press Windows key + I: Open the Settings app
Press Windows key + S: Launch Cortana
Press Windows key + Tab: Open Task View
Press Windows key + Ctrl + D: Create a new virtual desktop
Press Windows key + Ctrl + F4: Close the current desktop
Press Windows key + Ctrl + left or right arrow: switch between virtual desktops
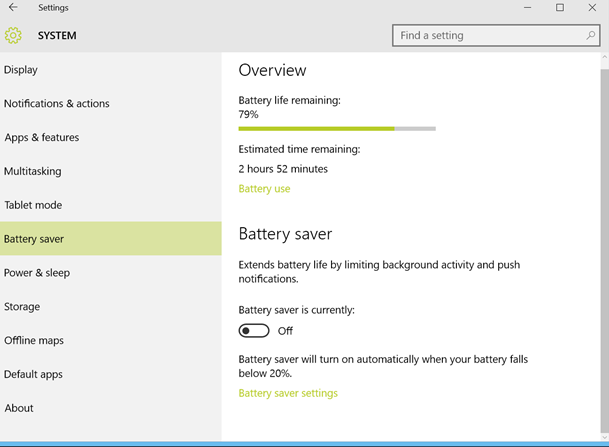
If you are utilizing a laptop and the battery is starting to run low, Windows 10 will begin to cut back on background services and other threads so you can squeeze more out of your battery life.
To enable Battery Saver:
Click on the Start menu
Click on Settings
Choose Systems
Choose Battery Saver
The screen also shows how much battery life and estimated time you have remaining.